Palette#
Palette is an asset whose the purpose is to store specific colors for your 2D animations. Palettes can be organized into categories and sets, making it convenient to choose colors for various elements in a project.
This asset can be used with panel Color Modifier with raster and vector Layers, but the behavior will be different.
Load a Palette#
Raster Layers (Raw)#
Note
With Raster layers, the colors from the Palette will be simply used as a collection of nuances. But if the Palette changes, it will not affect colors applied in the canvas.
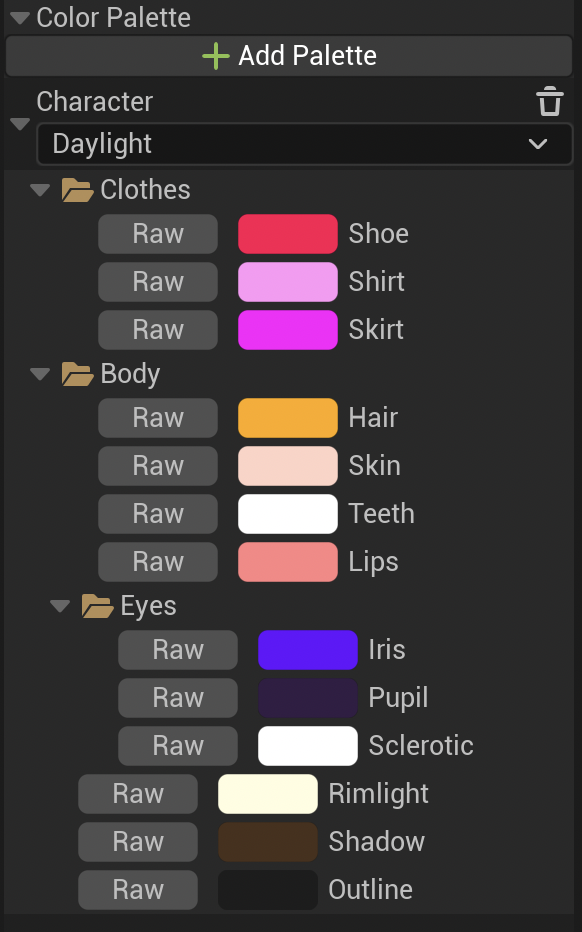
To use a Palette with a raster Layer, uncollapse the category “Color Palette” in the panel Color Modifier to display its settings below Hexadecimal. Then, click on “Add a Palette” and select the Palette to use for reference colors:
Vector Layer (Indexed)#
Note
With Vector layers, Palette can be used as Indexed Colors, meaning that any change in the Palette content will affect the colors applied in the canvas.
Indexed Colors only appear in the Color Selector panel if you are working on a Vector Layer.

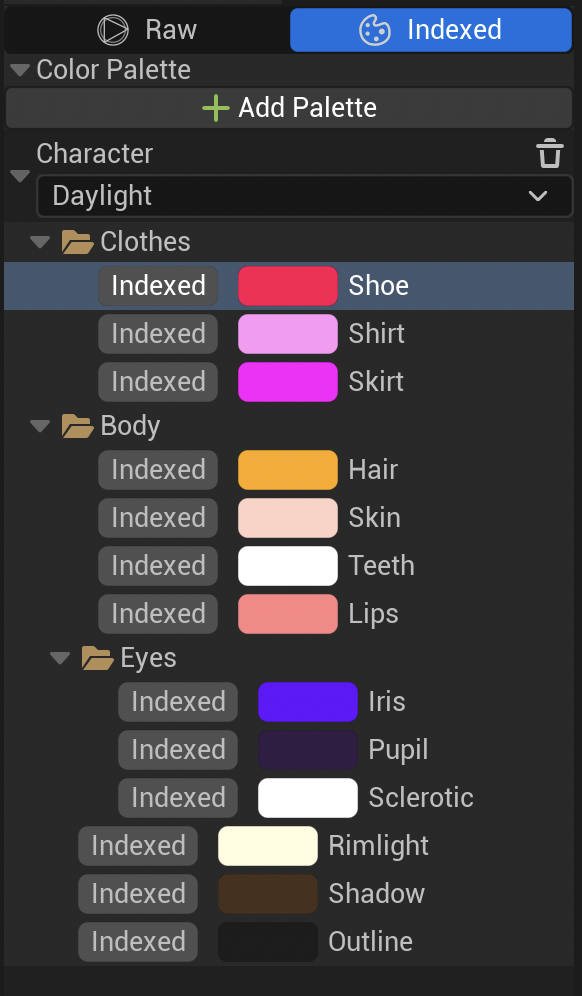
Click then on “Add Palette” to add a Palette from the Content folder. After loading a Palette, you can change the Set to be used.
Click then on the color of your choice and start painting with it.
Note
You can load several Palettes at the same time!
When you load a Palette here, there will be a dynamic link between the color used and the tool using that color. Said differently: if you change the nuance of that color, it will update all the objects using that color.
Warning
It is also possible to load and use a Palette from the tab “Raw” of the panel Color Modifier. Its behavior will be the same as raster Layers, meaning colors are not indexed (which implies no updates will be visible in the canvas).
Create a Palette#
From the Color Modifier#
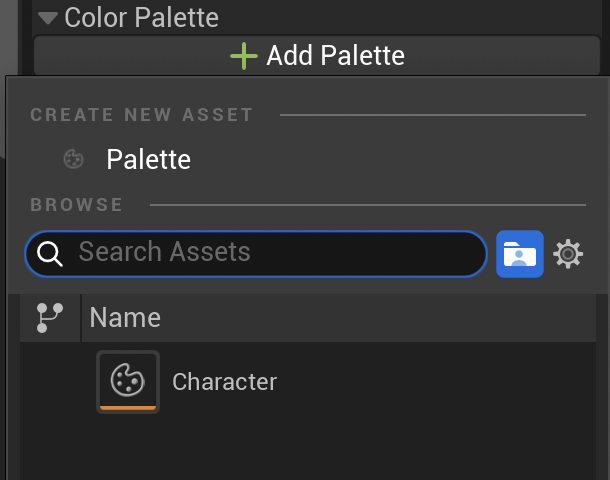
After uncollapsing the category Palette from the Color Modifier (raster) or clicking on the tab Indexed (vector), click on Add Palette ▸ Create New Asset ▸ Palette.
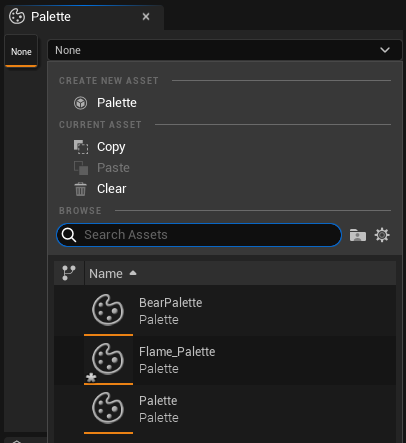
A new window will appear to save the Palette as an asset in the Content Browser.
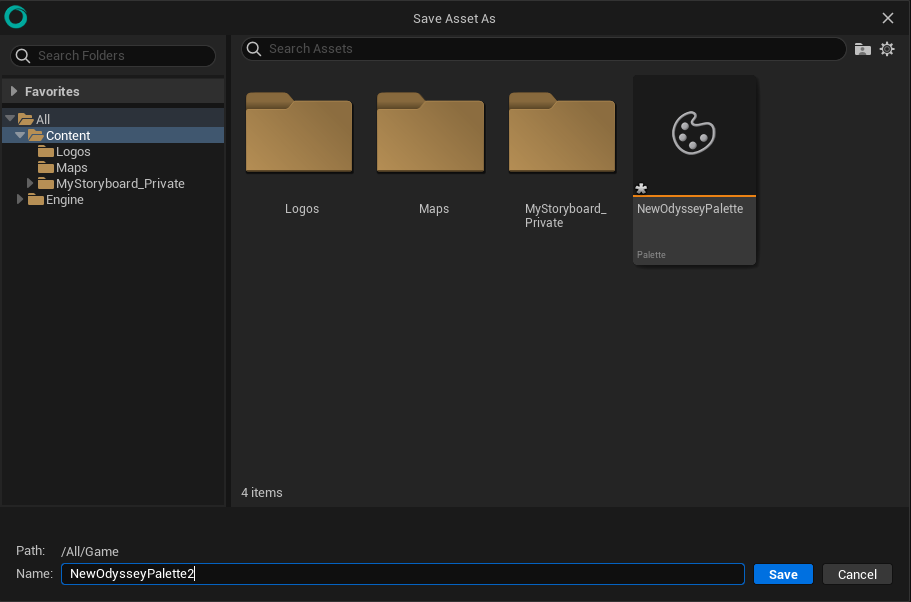
The Palette newly created will be automatically loaded afterwards.

However, its content will be empty by default and will need to be opened from the Content Browser to be edited.
From Content Browser#
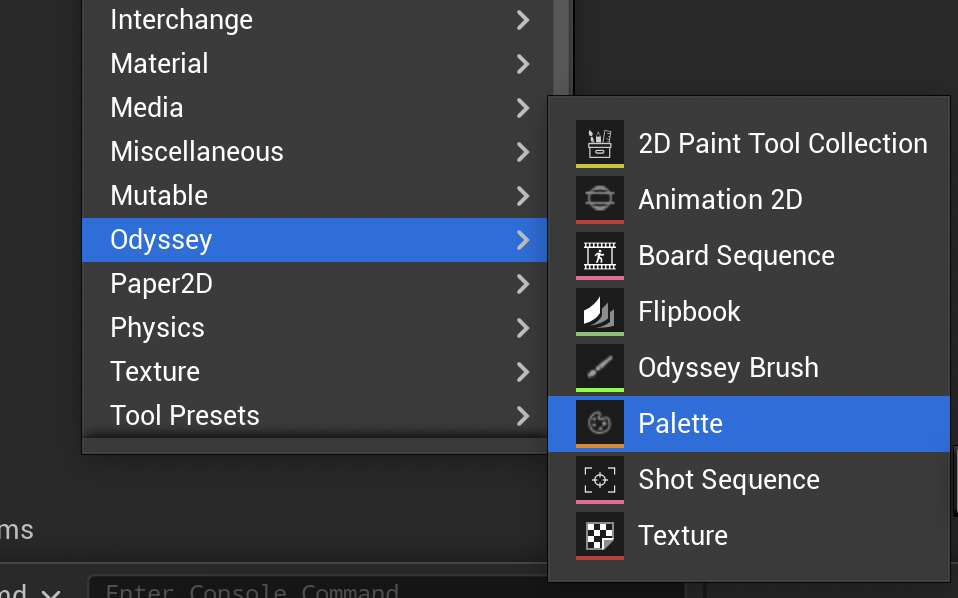
You can also create a Palette directly in the Content Browser. Make a right click in the empty area to display a pop-up menu. Then, go to the sub-menu “Odyssey” and click on “Palette”. It will create a new Palette asset.
Modify a Palette#
Go to the Content Browser and double click to open a Palette. In the example below, the Palette is empty.
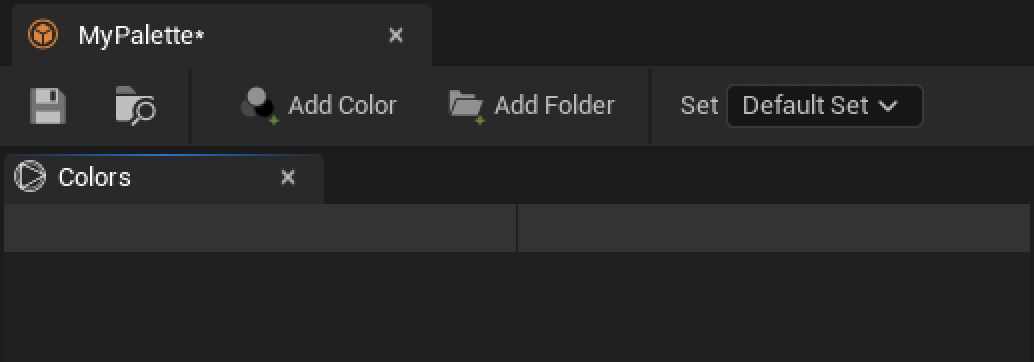
Add & modify colors#
Click on this icon to create a Color.

By default, you will get a black rectangle.

Click then on the black rectangle. A new window is going to pop up with a wheel, sliders, and an eyedropper you can use to choose a new color.
Tip
Use RMB on this color wheel to display a histogram instead.
Choose you color and click on “OK” to confirm your choice.
Contextual Menu#
If you do a right click on the color entry, you a Contextual Menu will show up:
Warning
The menu is currently faulty and options there will not work. It will be fixed, thank you for your patience!
Add a folder#
As in the layer stack, you can create folders and rearange your colors inside.
To create a new folder, click on this icon:

Use this folder then to organize your colors.

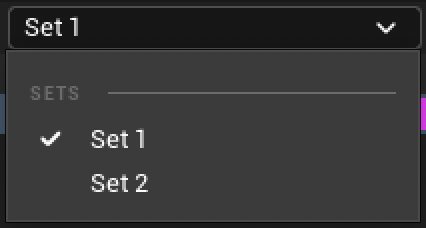
Sets#
Sets are a useful feature to have several variations from the same Palette. For instance, you can create a Set for day time and a set for dawn and another one for night.
To manage Sets, click here at the top right corner:

Here you can:
Add a new Set (when clicking here, you will have to enter the name of that new Set)
Remove the Current Set
Rename the Current Set
Or load the Current Set
Save a Palette#
To save a Palette, hit he Save Disk icon if the Palette is opened in its own editor or use Ctrl+S.
Remove a Palette#
Click on the Bin to remove a Palette from the Color Selector.

Warning
When used a vector Layer through the tab “Indexed”, removing the Palette will remove the connection to the colors. They will all turn black!