Mass Modifier#
Mass modifier is a specific tool to be found only in Animation 2D assets witin vector Layers. It enables the modification in mass of all the paths and groups from all the selected Cells.
To understand this lesson, you must know first how to use the following features:
Open Mass Modifier#
In a Vector Layer, select one or several Cells.

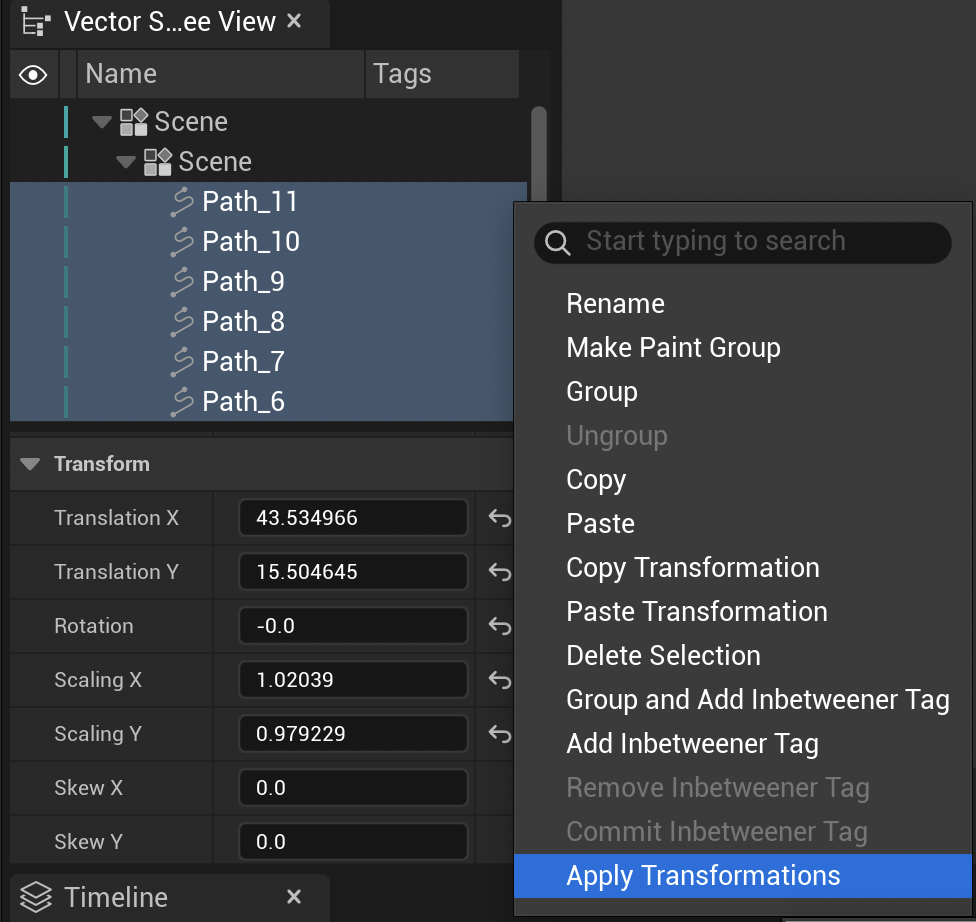
Then, make a right click to display the contextual menu and open the Mass Modifier panel.

Note
The Mass Modifier panel is a blocking window. You must validate or close the panel to be able to draw again.
Options#
The first category of the panel is subdivided in 3 settings:
Setting |
Description |
|---|---|
Apply to |
To determine the nature of the objects to be changed. There are 4 possibilities:
Each one will display various settings in the rest of the panel. |
Filter |
To apply the changes on objects with a specific name. Tip Add a |
Match case |
Enable or disable match case (spaces and uppercase/lowercase) |
The rest of the panel will change depending on the option chosen in the category Apply to. We will study each separated part.
Identity#
Check this case to change the name of the corresponding type.
Note
At the moment, changing the name will simply apply the same name to every object. There is no mechanism for incrementials yet.
Transform#
Use this mode to change the postion, rotation, scale or skew of every objects.
Warning
The transform is absolute: it won’t take in consideration transforms you may have done previously with the Transform Tool or the Inbetweener. Make sure you applied transform beforehand with the Vector Scene Tree View
Appearance#
The content of this panel can change depending on the selected type. In the table below, you will be informed of what type shall be used to display the corresponding setting:
Setting |
Description |
Available with |
|---|---|---|
Visible |
Check to show the objects in the scene. Uncheck to hide the objects. |
All type, Paths, Groups & Paint Groups |
HUD Color |
Choose the color for the HUD |
Groups, Paint Groups |
Foreground Color [Mode] |
Choose the color of the Paths (from the Color Modifier or from a Palette) |
All Types, Paths |
Background Color [Mode] |
Choose a color for the Scene Paint Group, from the Color Modifier or from a Palette |
All Types, Paint Groups |
All settings above are detailed in the lesson about Vector Scene Tree View
Path#
The following options can be found only with the type Paths selected.
Widening Mode: Use “Percent” to increase or decrease the thickness of the strokes with a percentage. Use “Unit” to force an absolute value to the thickness of your strokes.
Path Width: Type the value of the stroke’s thickness in percent or unit.
Joint Type: Change the joint type, as explained in the lesson about Vector Scene Tree View.
Miter Limit: Change the mitter limit, as explained in the lesson about Vector Scene Tree View.
Brush: Change the aspect of the strokes, as explained in the lesson about Vector Scene Tree View.
Paint Group#
The following options can be found only with the type Paint Groups selected. All settings below are detailed in the lesson about Vector Scene Tree View
Painted: To enable or disable Paint Buckets in the Paint Group.
Monochrome: To turn all Paint Buckets in grey.
Monochrome Color: To use one of the 50 shades of grey…
Wireframe Color: To change the color of the wireframe mode.
Intersect Canvas: To consider the canvas (Viewport) as a limit to apply Paint Buckets.
Gap Detection#
The following options can be found only with the type Paint Groups selected. All settings below are detailed in the lesson about Vector Scene Tree View
Gap Tolerance: How big a gap can be ignored.
Gap Detection Scheme: Different algorithms to detect gaps (Segment Extension and Closest Neighbour)
Segment Extension Scheme: Mode available only if Segment Extension was chosen in the Gap Detection Scheme. You can choose Single or Triple.
Segment Extension Simplified: Mode available only if Segment Extension was chosen in the Gap Detection Scheme. When enabled, it reduces the number of cycles to prevent fake gaps (like two lines making an acute angle), but it makes it harder to detect real gaps.
Advanced#
The only option there, Realtime will force Paint Buckets to always track any changes done in the Paint Group (like modifying a line or drawing a new line) in realtime.
Warning
This is an expensive option.
Apply#
Once everything is properly configured, don’t forget to click on Apply to confirm the mass modification.